Docs menu
Domains
Sending starts here: every email Flinkk Mail sends goes out from a domain you own and have verified.
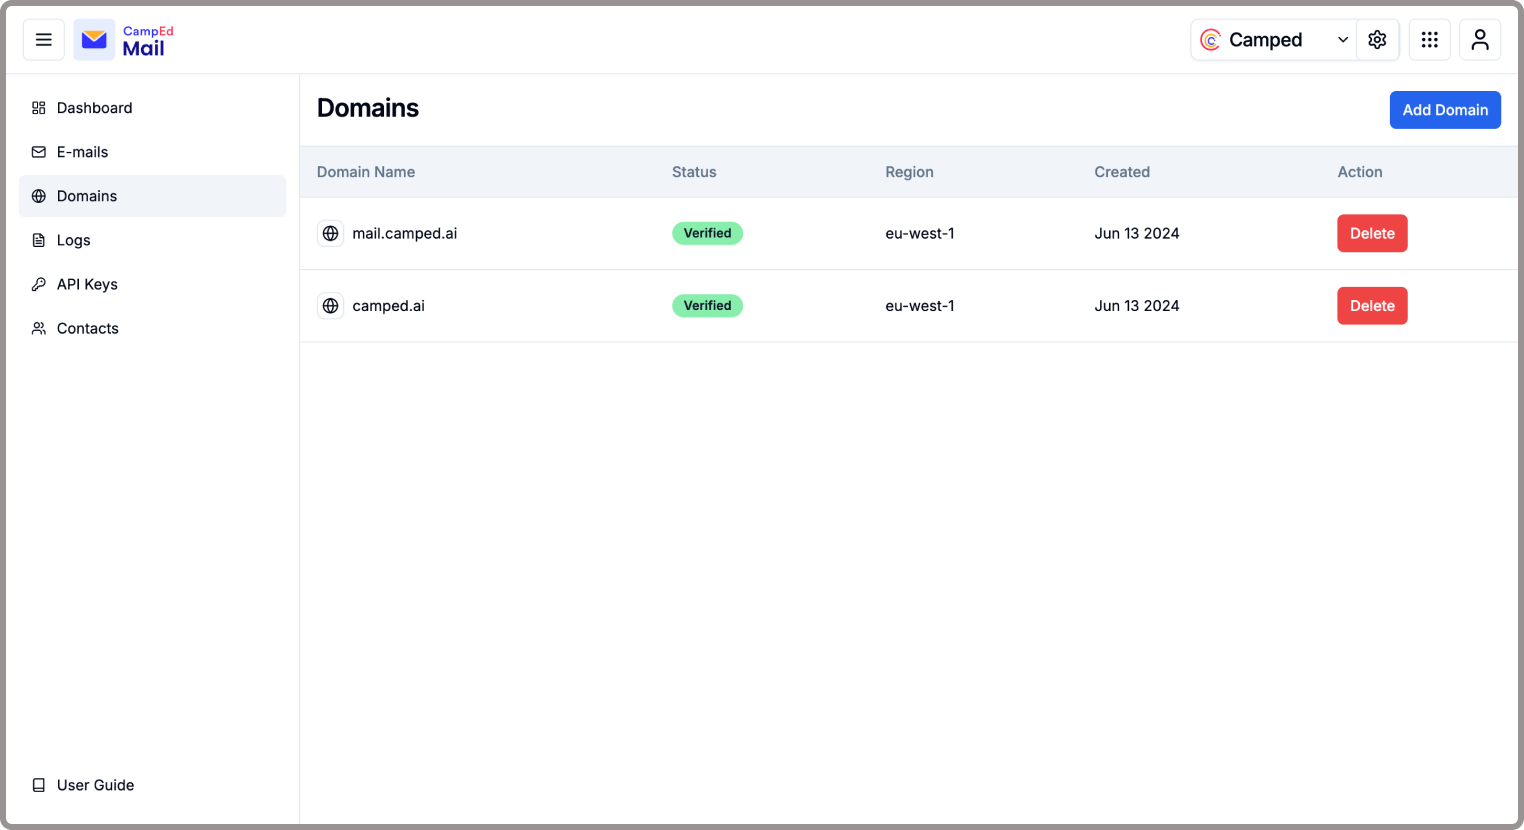
Add and verify a domain
1. Open Domain and add your domain (for example mail.yourcompany.com; a subdomain keeps your main domain's reputation separate). 2. Flinkk Mail shows the DNS records to create at your DNS provider: DKIM so each email is signed, plus the records that let SPF and DMARC pass. 3. Add the records, then come back and verify. DNS changes can take a few minutes to show up; verification retries until they do.
Once the domain shows as verified, you can send from any address on it and set up receiving. If verification keeps failing, re-check the record names and values against what the app shows; a stray space or the wrong record type is the usual cause.